 Language
 Bosch Series 120 Injector Repair: Critical Precautions for Reliable Performance PART 2.
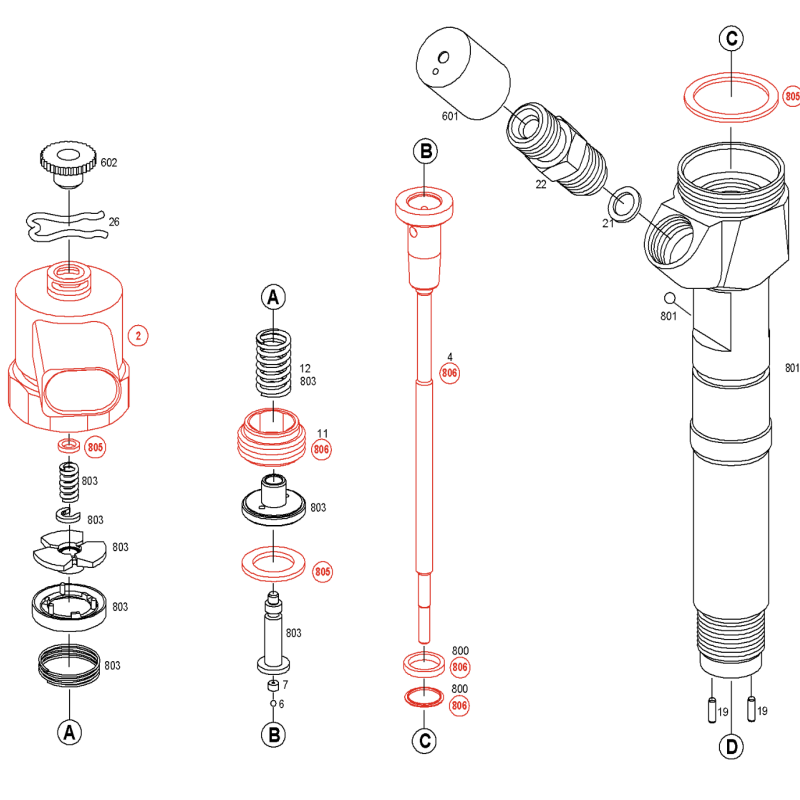
 Reassembly: Torque Specifications & Correct Sequencing
Proper reassembly is just as important as disassembly—incorrect torque or part orientation can render the repair ineffective. Follow these steps:
Use only genuine Bosch replacement parts. Aftermarket parts may not meet the same precision standards, leading to compatibility issues or reduced performance.
Lubricate internal components (e.g., control piston, nozzle needle) with clean diesel fuel or manufacturer-recommended lubricant before assembly. Avoid using excessive lubricant, as it can mix with fuel and affect combustion.
Adhere strictly to Bosch’s torque specifications for all fasteners. Over-tightening can deform the injector body or damage threads; under-tightening can cause fuel leaks or component loosening during engine operation. Use a calibrated torque wrench for all critical fasteners.
Reassemble components in the reverse order of disassembly, referring to your documentation (photos/notes) to ensure correct orientation. Pay special attention to the solenoid connector—misalignment can cause electrical contact issues.
After assembly, check the injector for free movement of the nozzle needle (if applicable) and ensure no parts are misaligned or protruding.
Post-Repair Testing: Verify Performance & Leakage
Never install a repaired Bosch 120 injector without comprehensive testing. Testing ensures the injector meets factory performance standards and identifies any overlooked issues:
Leakage Test: Check for fuel leaks at the injector body, nozzle tip, and fuel inlet. Use a test bench to apply fuel pressure (per Bosch specifications) and inspect for any signs of leakage—even small leaks can lead to fuel waste or engine fire risks.
Injector Performance Test: Use a professional injector test bench to verify fuel delivery quantity, spray pattern, and response time. The spray pattern should be uniform and consistent; irregular spray indicates a faulty nozzle or internal component.
Electrical Testing: Re-test the solenoid valve’s resistance and ensure the electrical connector makes secure contact. Test the injector’s response to electrical signals to confirm proper operation.
Engine Test (Final Verification): After installing the repaired injector, start the engine and check for smooth operation, no unusual noises, and stable idle. Monitor fuel consumption and exhaust emissions (if possible) to ensure the injector is functioning optimally.
Additional Tips for Long-Term Reliability
Always use high-quality diesel fuel that meets the engine manufacturer’s specifications. Contaminated or low-grade fuel is a leading cause of injector damage.
Replace the fuel filter regularly to prevent debris from reaching the injectors.
Avoid prolonged engine idling, as it can lead to carbon buildup on the nozzle tip.
Store repaired injectors in a clean, dry environment with protective caps on the nozzle tip and fuel inlet to prevent contamination.
Conclusion
Repairing the Bosch 120 injector requires precision, patience, and strict adherence to these precautions. By prioritizing cleanliness, using genuine parts, following proper disassembly/assembly sequences, and conducting comprehensive testing, you can ensure the repaired injector delivers the same performance and reliability as a new unit. For professional technicians seeking advanced training or specialized tools for Bosch injector repair, our training center in Tai’an, Shandong Province, offers tailored courses and state-of-the-art equipment to support your expertise.
Have questions about Bosch 120 injector repair? Feel free to contact our technical team for personalized guidance.
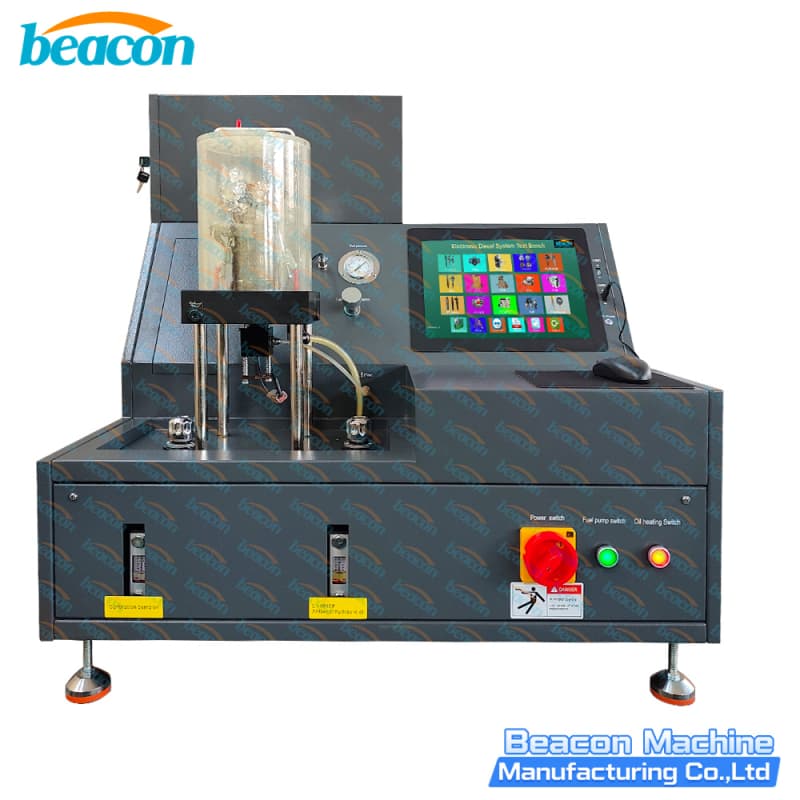
To test common rail BOSCH 120 Injector ,we have test bench mode as below :


Related products
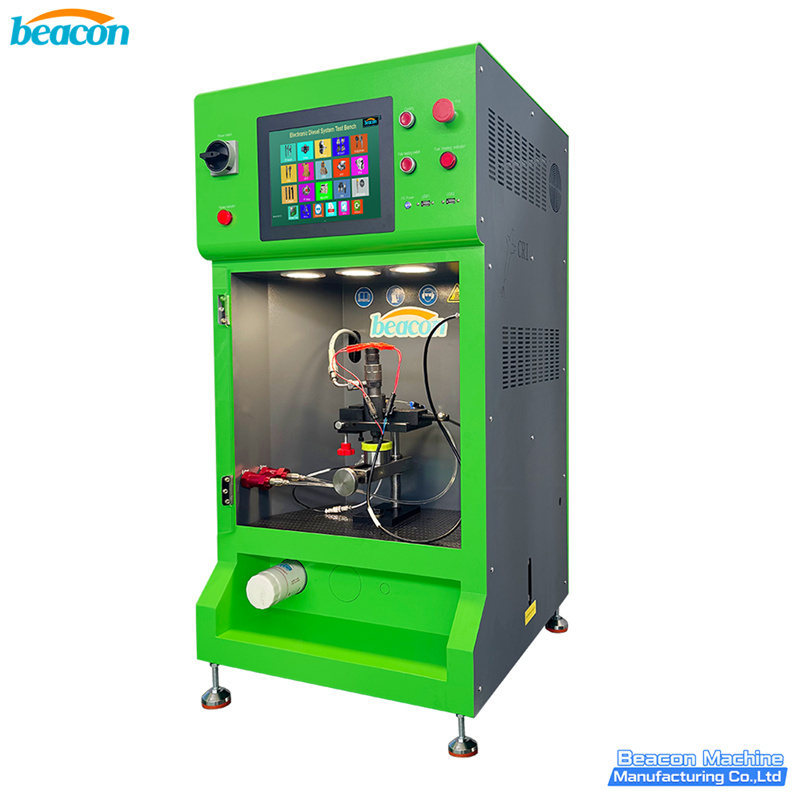
EPS290 Common Rail Injector Test Bench Solenoid & Piezo Injector Tester
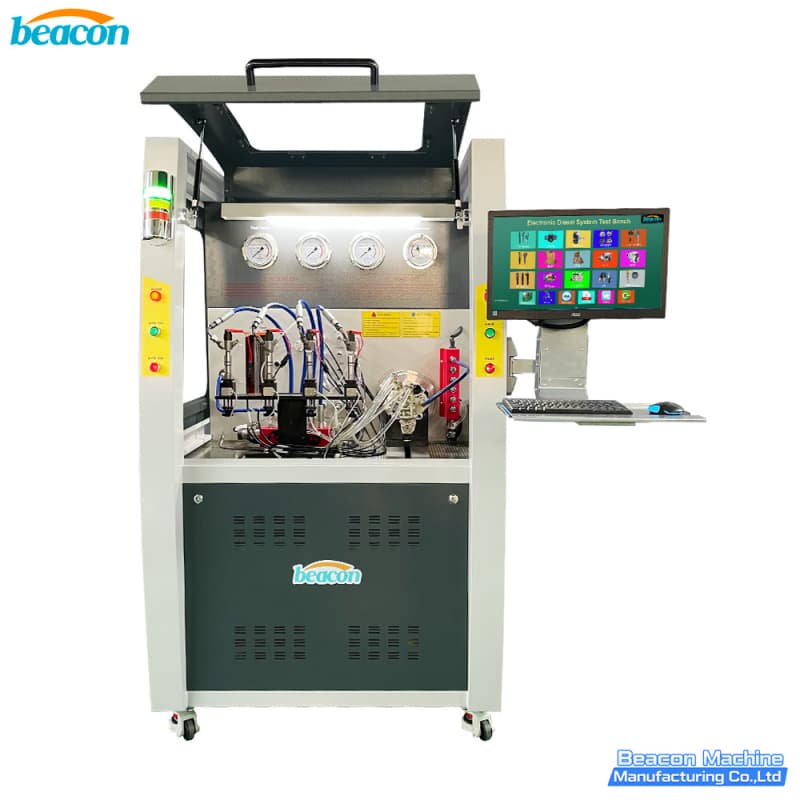
CR1029 4-Channel Common Rail Injector Test Bench with 4 Flow Sensors Testing 4 Bosch Denso Delphi Injector At Same Time

CR1029 High Pressure Common Rail EUI EUP HEUI BOSCH DENSO VOLVO CATERPILLAR Injector Pump Test Bench
HEUI-F HEUI Common Rail Injector Test Bench Beacon Machine Manufacturing Caterpillar C7 C9 3126B injector Testing Machine
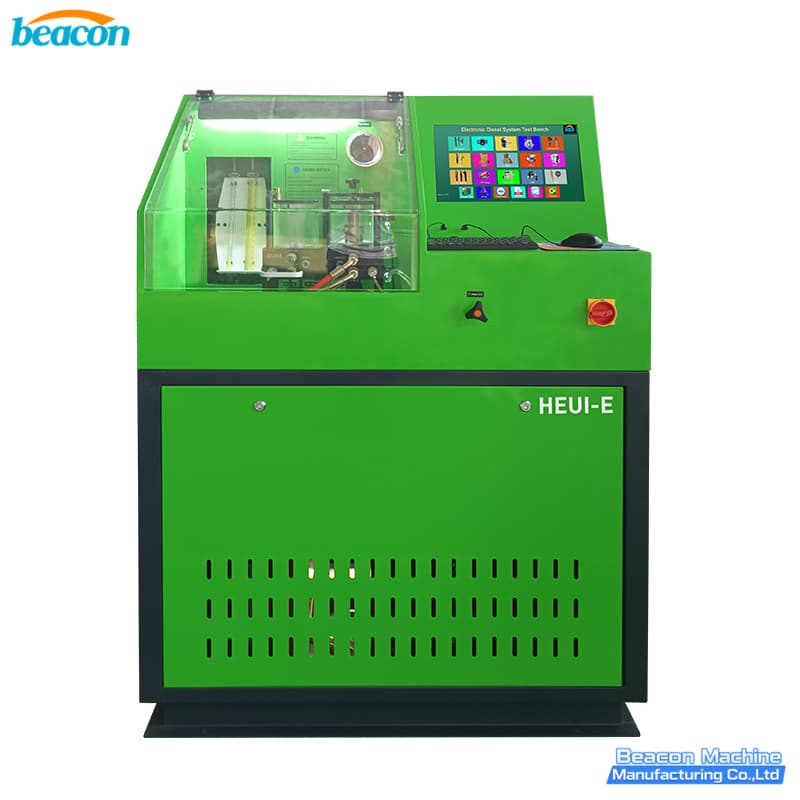
HEUI-E TEST BENCH CRS390 Computer Controlled Diesel Fuel Caterpillar C7 C9 3126B FORD G2.8 G2.9 Injector Test Bench
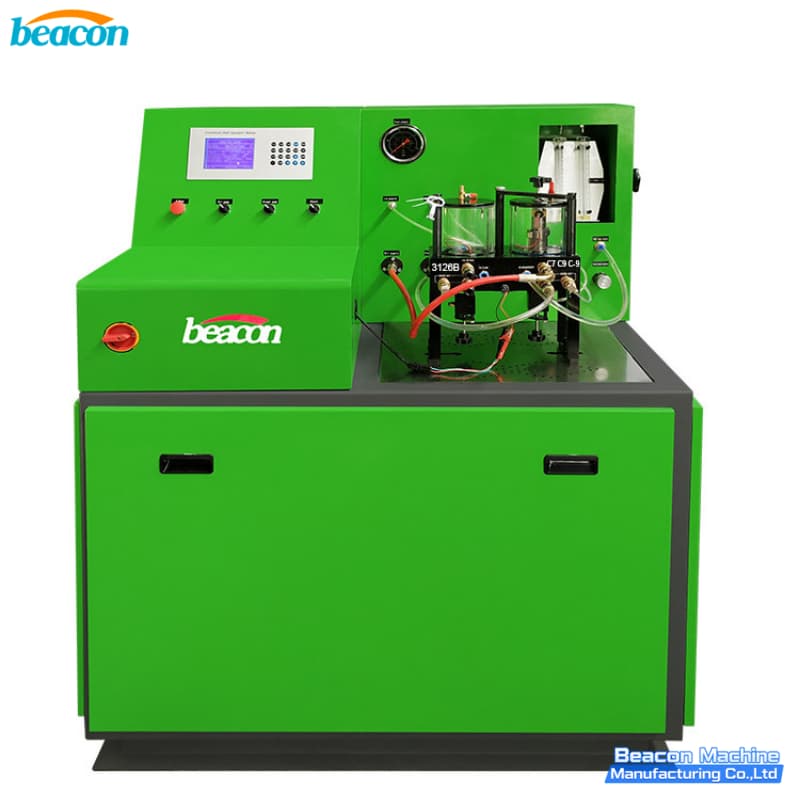
HEUI-B Test Bench HEUI Injector Caterpillar C7 C9 3126B FORD G2.8 G2.9 Testing Equipment

